Posts Tagged ‘walkthrough’

Starcraft Expansion Terran Level 8

November 1, 2009

01

This is a brief walkthrough for the eighth and final scenario of the Terran campaign in the Starcraft Expansion, Brood War.
01

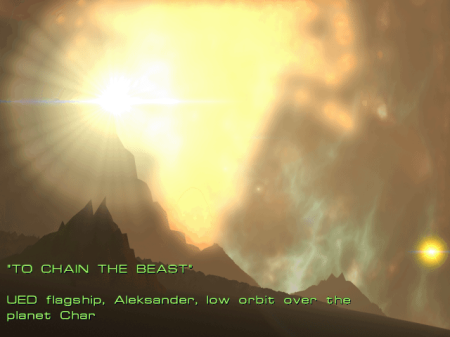
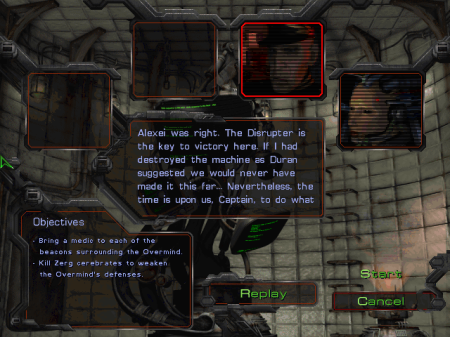
Titled “To Chain the Beast“, this scenario concludes the Terran campaign with the capture of the Overmind by the United Earth Directorate forces, following a suffered war to ultimately neutralise the Zerg threat. The last events before this scenario saw the treachery of Samir Duran, who led Admiral DuGalle into ordering the death of Admiral Alexei Stukov. Now, a battered DuGalle must capture the Overmind to ensure that Stukov’s death was not in vain.
01

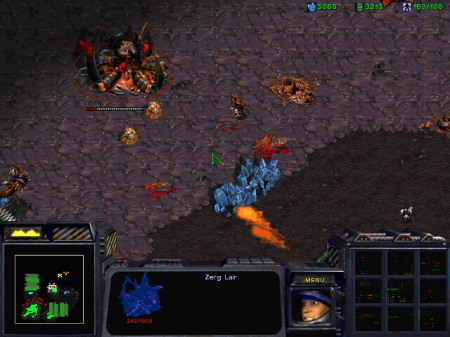
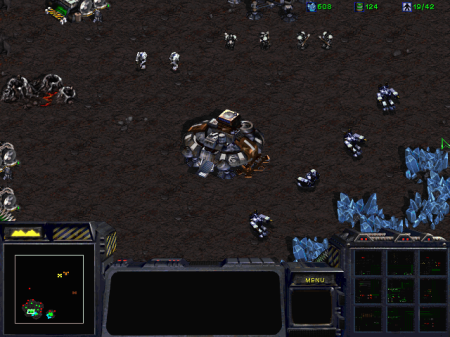
This is the opening screen of this scenario. With few units and buildings to start with, you must quickly build a solid defence before you are overwhelmed by your enemies (more on this later).
01

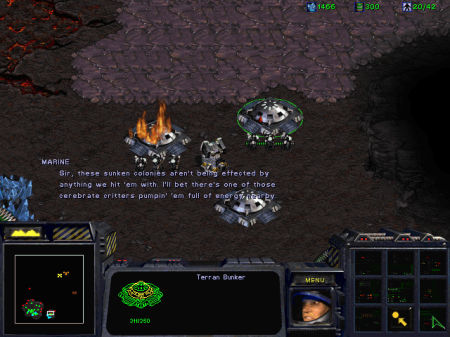
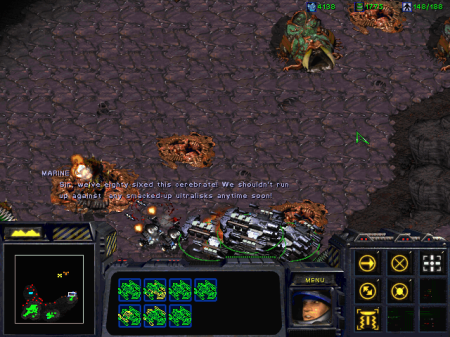
Trouble starts almost immediately, when an outpost is attacked by a sunken colony which is impervious to harm. The marine complaining about it hints that it must be a cerebrate that is providing this invulnerability.
01

There are three broods in this scenario: red, brown and orange. Each has its own cerebrate, which provides some kind of supernatural power to its corresponding brood. When the cerebrate dies, this power is lost, and the entire brood becomes passive – it will cease to function entirely, and will not attack.

The red cerebrate makes its sunken colonies invulnerable, so the obvious first strategy is to direct an air assault against the red cerebrate in order to earn freedom of movement (since you are surrounded by the sunken colonies).

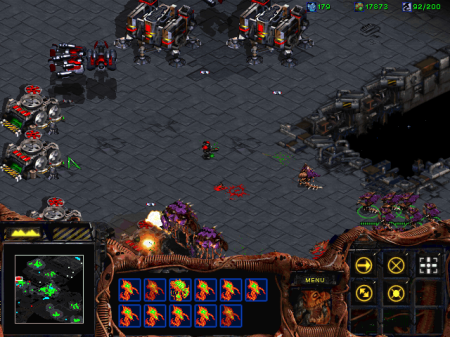
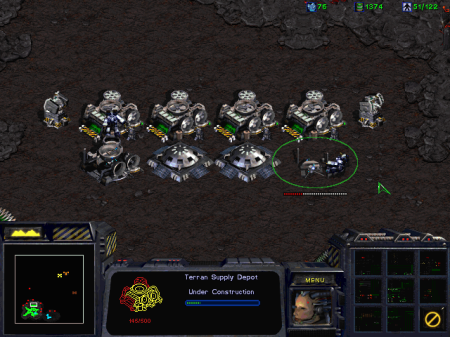
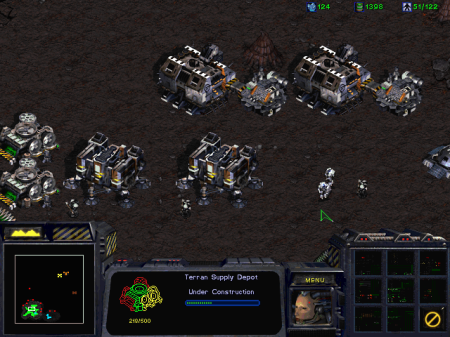
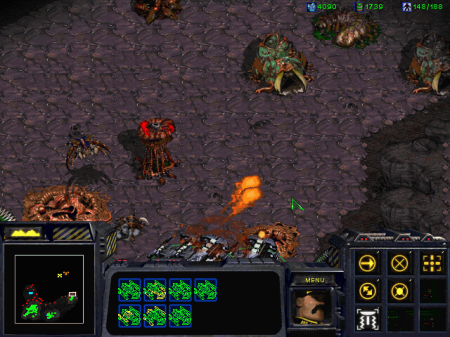
The brown cerebrate continuously generates a super-ultralisk called the Torrasque (probably inspired by the Dungeons and Dragons Tarrasque). This Torrasque has extra armour, damage and hit points, making it very difficult to kill at the beginning. Thus the important thing to do while preparing an airstrike against red is to build solid defences (as shown above) to limit the damage done by this powerful creature.

The orange cerebrate has no special powers, but maintains the defences around the Overmind. If you kill the orange cerebrate, there will be nothing to stop you from bringing in your medics unhindered.
01

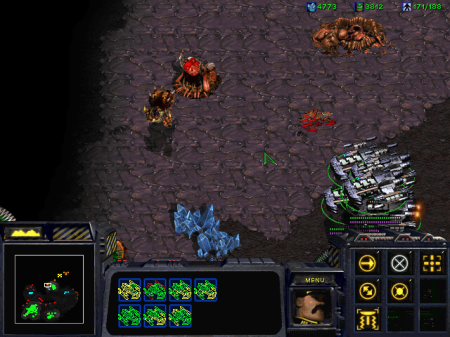
While pumping up your defences, build the buildings you will need. Train marines to occupy bunkers (though they won’t do much damage to the Torrasque), and create tanks as the main defence against the Torrasque (and other enemy attacks). Your tanks should be spaced out a little from each other, so that they cover each other if any of them is under attack, but don’t let the Torrasque get inside the minimum range of more than one of them.
01

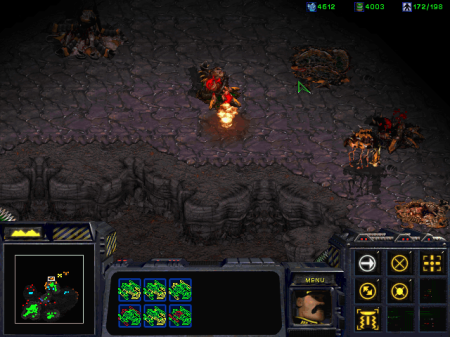
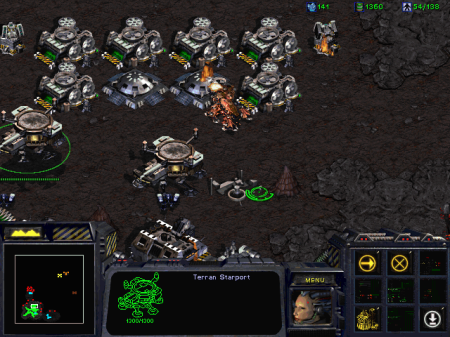
When some time passes or you have built your first Starport, the Torrasque will attack. Tanks and battlecruisers (which you will have later) are the best defence against it.
01

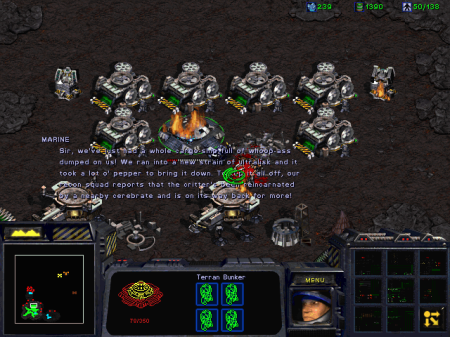
Having killed the Torrasque for the first time, you are told that it has been incarnated, and will be attacking again soon. This will go on as long as the brown cerebrate remains alive.
01

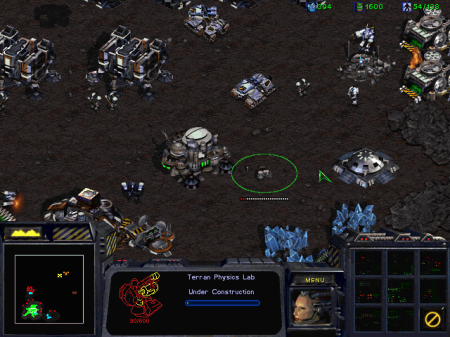
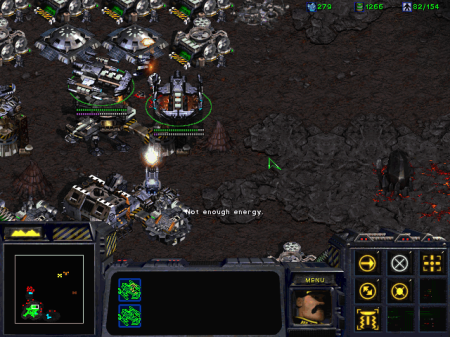
With a couple of Starports ready to produce air units, create a Science Facility with an attached Physics Lab to be able to create battlecruisers. Be sure to research the Yamato attack.
01

While waiting to produce enough battlecruisers to strike red (4-6 should be enough), your battlecruisers will be good to support your tanks against the Torrasque, especially if they can use the Yamato Gun.
01

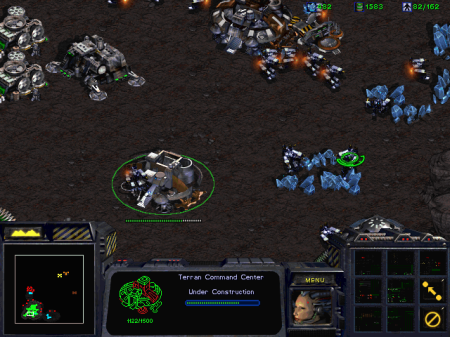
Since resources will be dwindling at the time you are about to attack red, start planning to move to the east outpost where there are more resources.
01

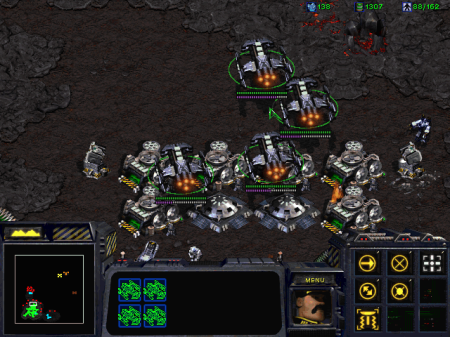
With 4 – 6 battlecruisers ready, head north where the red cerebrate awaits.
01

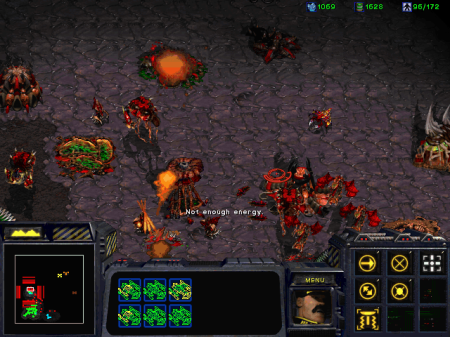
4 battlecruisers may or may not be enough to bring down the cerebrate, so you may need to bring in reinforcements. Bring down the two sunken colonies with the Yamato Gun. Mutalisks can easily be killed as they attack, but hydralisks pose a more significant threat. When hydralisks attack, retreat to the higher ground; this will give you a bit of time until they ascend to the higher ground, and will allow you to kill them off one by one.
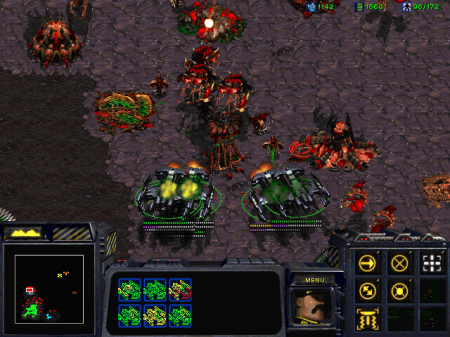
01

With those battlecruisers that still have enough energy, Yamato the cerebrate to weaken it, and bring it down with normal attacks.
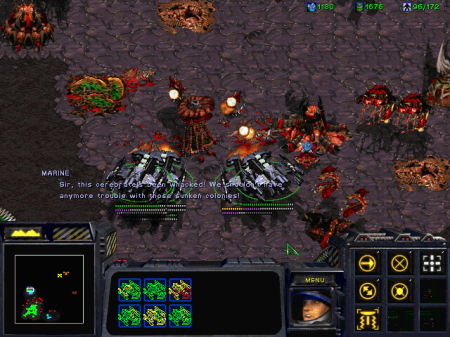
01

With the cerebrate killed, the entire red brood will cease to function. The sunken colonies can now be killed, and all the red brood will be a sitting duck as you attack it. Clear the creep-generating structures (colonies and the hatchery) to clean the ground in case you want to move here later for resources, and then retreat to your base for repairs and to continue to guard against the Torrasque.
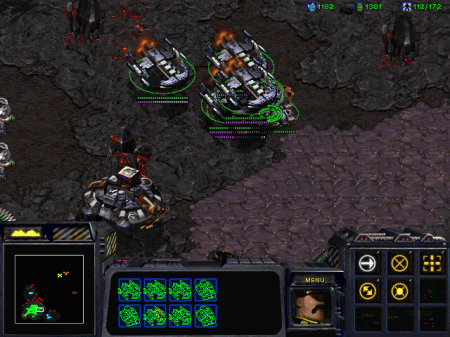
01

Now you should build a secondary base east of your main base, since your resources have run out. Send your battlecruisers, tanks, marines and SCVs there, and build or move a command centre there.
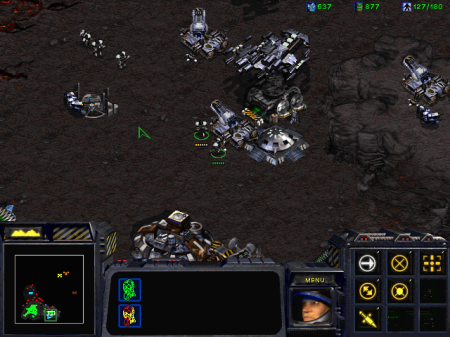
01

Set up light but decent defences against the Torrasque, who will attack both the new base and the old one. Space out your bunkers and tanks, and use the battlecruisers for added support. Keep building battlecruisers for the upcoming attack on brown.
01

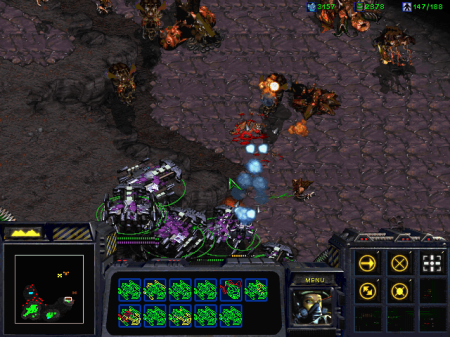
You can start harassing brown by killing the peripheral creep colonies, as you prepare to attack his main base where the Torrasque-generating cerebrate lies. This will also allow you to intercept the Torrasque as it travels to your bases, so that it will not be able to reach them and thus will cause no damage.
01

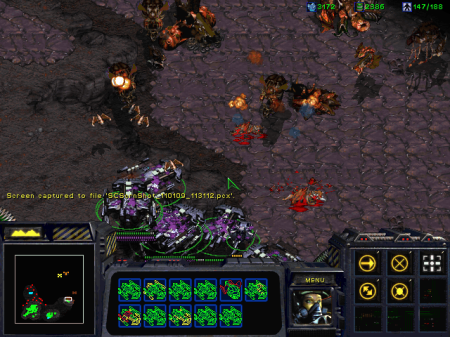
Attacking brown with battlecruisers alone is a bad idea, however. In this case, I lost all my battlecruisers and the accompanying Valkyrie. Brown has lots of scourge, mutalisks, devourers and queens (to slow down the battlecruisers); and he also has an island full of them near the southeast corner, from where he can promptly call in reinforcements.
01

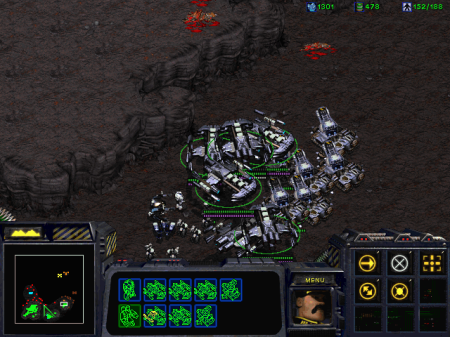
The best way to attack brown is using a mixture of battlecruisers, tanks, marines, medics and maybe a couple of goliaths. The tanks will pick off land units at a good range; the battlecruisers can advance against both land and air units while supported by the other units, and marines and goliaths are good support against waves of enemy air units.
01

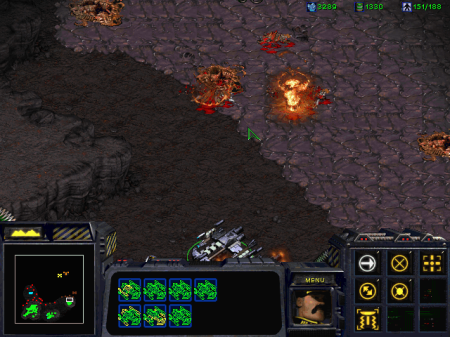
Keep at a distance while your tanks destroy enemy buildings and also enemy units as they advance.
01

When you are near enough, move your battlecruisers inwards and take out the cerebrate using their Yamato Guns.
01

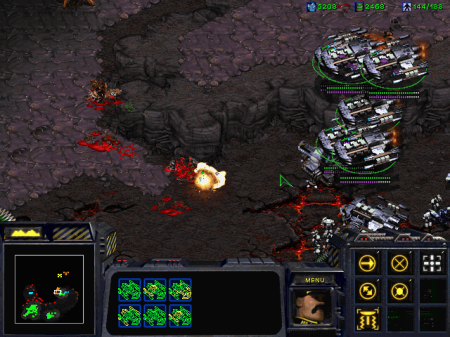
This will passivate the entire brown brood, and stop generation of the Torrasque.
01

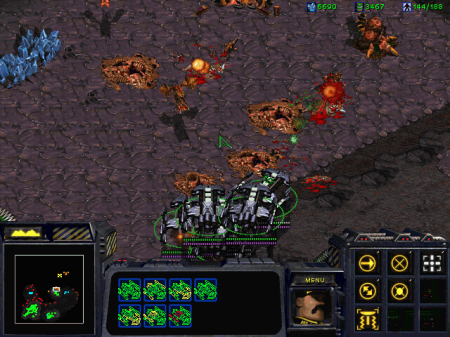
If your forces have not dwindled too much, you don’t need to stop the attack there. Move in cautiously on the perimeter of orange’s territory, by advancing west of where the brown cerebrate once lay. Use the same strategy of killing enemies at a distance using tanks and battlecruisers to limit your casualties.
01

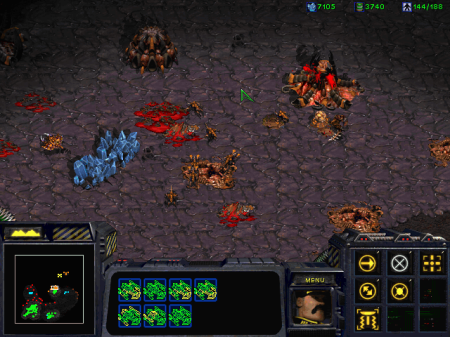
While bringing in some reinforcements once in a while, move in at the heart of the outer orange base.
01

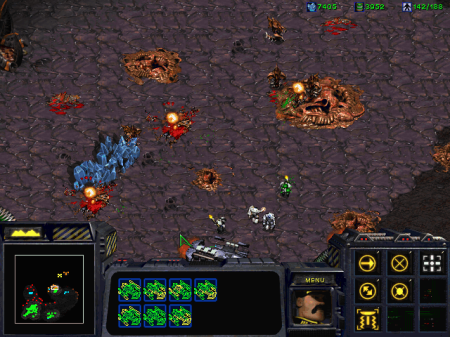
Clear the area with your tanks and battlecruisers.
01

Press on…

01

…and on…

01

…and on…

01

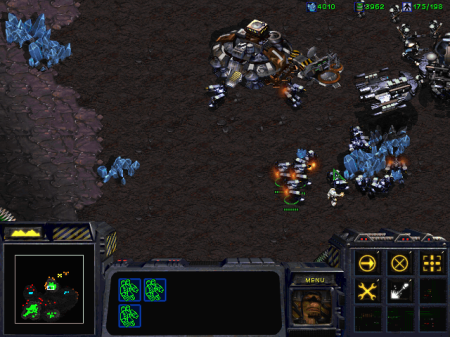
…and on, until the lower ground is free from Zerg and the enemy buildings on the edge of the higher ground are within range. Tear down some of them to facilitate your entry into the Overmind’s nesting area.
01

You can build a small base in the orange area you just cleared, as a staging area for the main orange base (where the last cerebrate and the Overmind both lie). This will allow you to create reinforcements easily, and to harvest resources if your secondary base is running out.

Another option would be to build a third base where the red cerebrate was. However, this is far from your main objective (the Overmind), and means you would waste resources in setting up defences there.
01

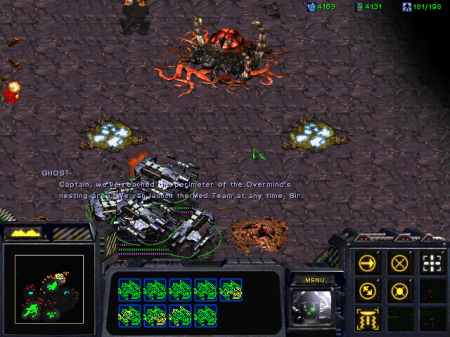
When your tanks have cleared a good path to the Overmind at a distance, send in your battlecruisers.
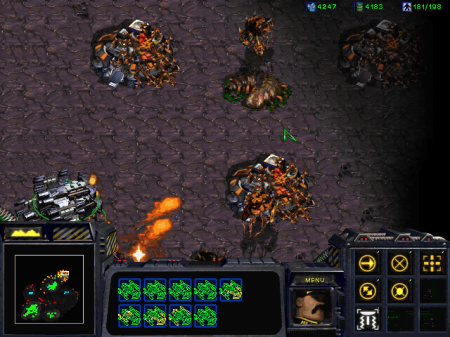
01

Use the Yamato Gun of your battlecruisers to take down the last cerebrate and totally disable the Zerg defences. This is optional, but prevents your medics from the possibility of getting killed as you send them in.
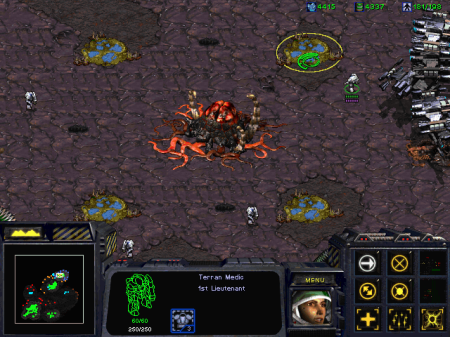
01

Send a medic to each of the four beacons around the Overmind.
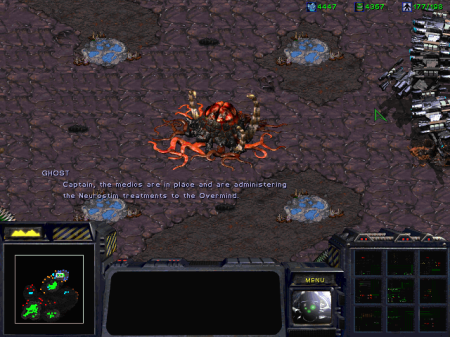
01

With that done, this level is won.

01

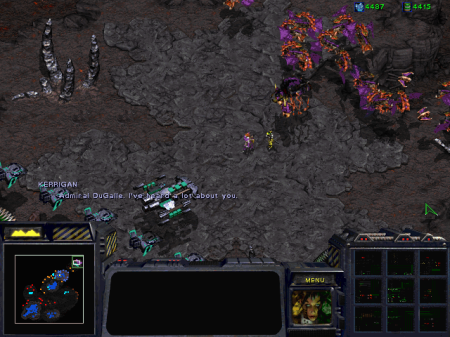
Now you get to see a meeting between DuGalle, Duran and Kerrigan. Both parties threaten each other, and then the heroes leave the scene to let their underlings do battle for them.
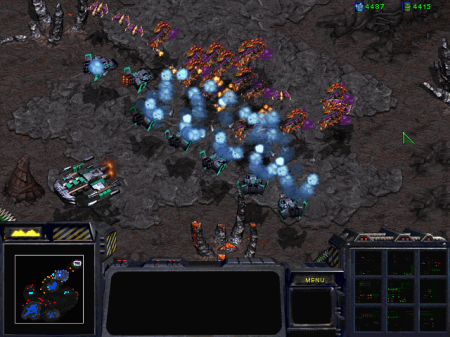
01

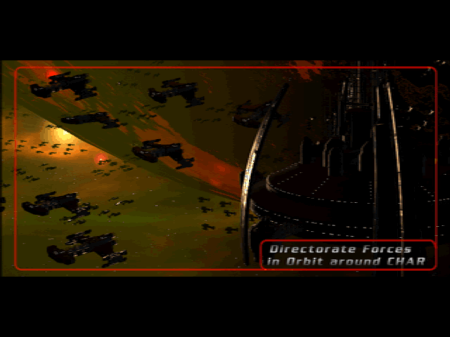
Now you can watch the end-of-campaign cinematic for the Brood War Terran Campaign.
01
01
01
01
01
01

King’s Quest VI: Minotaur’s Labyrinth

October 17, 2009

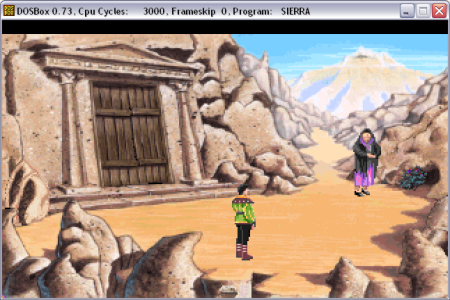
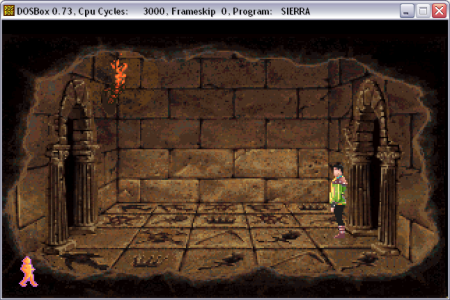
This is a walkthrough for the Minotaur’s Labyrinth on the Isle of the Sacred Mountain. The screenshot below shows the entrance.

02

After facing the rulers of the Isle of the Sacred Mountain, you are given time to gather the required items before you return and are thrown into the labyrinth and locked inside. You are not told what items you need, but you will not get through the labyrinth without the right items.

The items you will need are:

  • the tinder box (Isle of the Crown, pawn shop)
  • the red scarf (Isle of Wonder, chessland)
  • brick (Isle of the Beast, near stone archer)
  • hole in a wall (Isle of Wonder, near dancing flowers)

cat_lar2

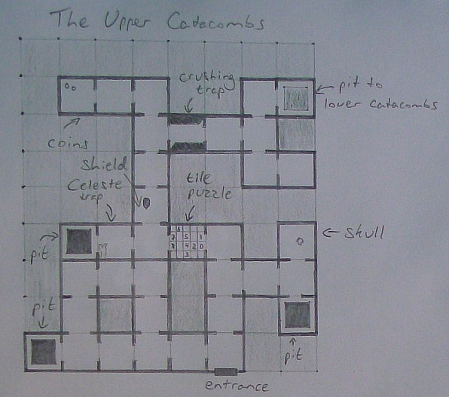
Above is a map of the Upper Catacombs. Collect the skull from the location indicated, and brave the tile puzzle.

cat_lar2

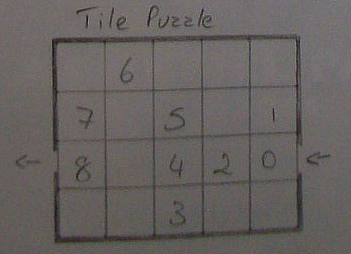
The room with the tile puzzle is shown above. You will be killed if you step on the wrong tile. The solution is below. You start at number 0, and must make your way to number 8 before you can move to the next room.

cat_lar2

Collect the shield and coins, then head for the crushing trap.

cat_lar2

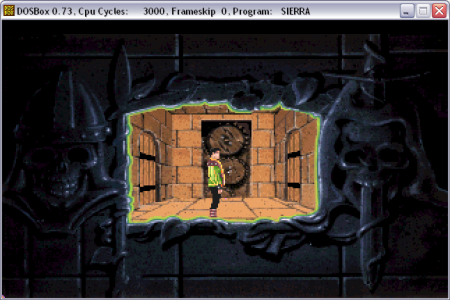
The crushing trap is shown above. Toss the brick into the gear mechanism to block the trap and open the doors. Head out through the east door.

Go to the northeastern room and you will fall unharmed to the lower catacombs.

cat_lar2

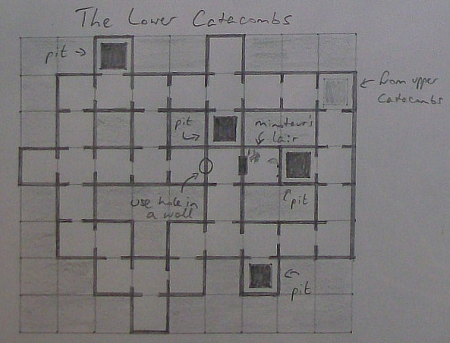
A map of the Lower Catacombs is above. You start at the northeast corner, and will be in total darkness. Use the tinder box to light up the room.

Head west, and take the second turning south; then go east. You will hear some sounds coming from the wall to the east. Use the hole-in-a-wall on the east wall to observe how the minotaur opens the secret door to his lair.

cat_lar2

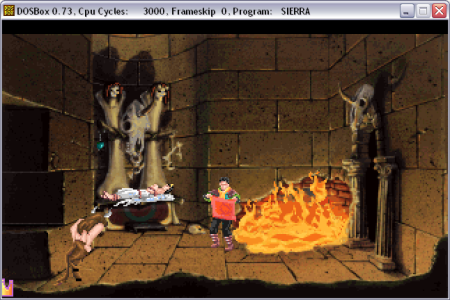
Make your way to the room you observed, and use the tapestry. This will open the way to the minotaur’s lair.

Challenge the minotaur using the red scarf. The minotaur will charge and run into the flames to his death.

Starcraft Expansion Zerg level 10

October 9, 2009

This is a walkthrough for the last level of Starcraft: Brood War, and that is Zerg Level 10, titled Omega.

The Zerg Campaign is where Kerrigan, the Queen of Blades who controls the Zerg forces, gets to defeat all her enemies and get away with it. In this final confrontation, her forces are under attack by three offending fleets: the UED, Arcturus Mengsk’s forces, and the Protoss. This is where her forces prove their superiority and eradicate the last of her opponents once and for all.

You start off on a central platform. Each of the enemy forces can attack you through any of three entrances to your base, or from the air.

All three forces attack via both land and air, but some have particular tendecies. For example, the white UED forces (northeast) will tend to attack using battlecruisers and Yamato your creep colonies. Mengsk’s red forces will often try to nuke your base. The Protoss will attack mainly (but not exclusively) via land; however their Corsairs will also tend to be very annoying.

While resources in your base are abundant, they will run out after a while. The primary strategy for this level is to build secondary bases that will provide resources (so you can save your central base’s resources for any desperate situation) and serve as stepping stones to attack the enemy bases.

One of the first things you should do is make the necessary upgrades to have your overlords transport units, and carry a team of 12 hydralisks and a couple of drones to the southwest corner in four overlords. There, build a secondary base so that you can gather resources from there instead of depleting those in your central base.

Be careful to pass the overlords safely between the red and blue turrets and cannons.

It is needless to say you should bolster your defences and work on building the missing buildings and applying upgrades. This should be done throughout the level. As shown above, keep three guardians and an overlord at hand beside the southwest entrance to your primary base, where red will tend to attack. This will both support your defenders (which should be primarily hydralisks at all entrances) and allow you to kill any nuking ghosts before they can cause significant damage (more on this later).

When the southwest base is ready, move your mining drones there so that you can deplete that base’s resources and later abandon it. Your central base will have abundant resources in case you lose any secondary bases and are forced on the defensive.

Prepare a decent strikeforce to begin raiding the Protoss bases (east first, then southeast). When attacking Protoss, always accompany your forces with four overlords. One will always be stolen by some Dark Archon, while others may be destroyed during combat. Your force should consist of many hydralisks, but also several zerglings. The zerglings will keep enemy units busy while the hydralisks can take them down and also take care of enemy carriers.

First, strike the small Protoss base to the east. This is not very difficult to do, even with a small force.

However, keep your hydralisks handy because of carrier attacks from the south, and any Protoss reinforcements. Wait at the ruins of the base you destroyed while you bolster your forces for the second stage of the Protoss assault.

When you have enough forces, move onward to the south, where the second Protoss base is. This is more difficult, and you will have to deal with archons, dark archons, carriers, zealots and dragoons.

The Protoss base will not resist a decent assault. Destroy it completely…

…and build instead of it. This third base will serve mainly as a stepping stone to attack the main Protoss base, but is also a place to gather resources once your second base runs out of resources.

Prepare a large force of zerlings, hydralisks, and a few supporting guardians to attack the main Protoss base. They have very good defences, and it may take several attacks to bring them down. To minimise losses, instead of sending short bursts, prepare a large strikeforce.

Meanwhile, red will irradiate your overlords back at your central base, and try to nuke you, amidst regular attacks. The guardians you prepared earlier will save you a lot of heartache from nukes, and keep replacing irradiated overlords so that the guardians can see the offending ghosts.

Begin your assault on the Protoss by taking down the first outpost, east of their primary base, by sending forces from the base you built instead of their secondary base. Be sure to link your bases using nydus canals for quick transfer of troops.

If your troops begin dwindling after the assault, wait at the entrance to the Protoss base while you bolster your forces. It may take several attacks to win.

You should first target arbiters, carriers, and reavers. Press on, and destroy their stargates so they can’t produce any more heavy air units.

Go on in, and destroy the rest of their primary base.

When you destroy the last Protoss outpost, just outside the main Protoss base to the northwest (you saw it when you moved your overlords to the southwest base), Artanis will acknowledge defeat.

Now that the Protoss cannot annoy you further, you are less constrained by enemy attacks and can concentrate on destroying white and red.

Build instead of the main Protoss base so that you have a fourth base to mine from. There is also another potential place to build a base on an elevated platform in the southeast corner of the map.

Now it is time to start attacking white, who has probably been harassing you with battlecruisers. The main defence against them are hydralisks, although you can also use scourge to bring them down more quickly. When the battlecruisers Yamato your creep colonies, be sure to replace them quickly. Support them with hydralisks where necessary.

Send a couple of zerglings to destroy the undefender turrets just northwest of your central base. This will allow you to move overlords and any queens without hindrance. However, beware enemy science vessels and medics which will irradiate and blind your overlords.

Build a small base at the area with minerals to the north of your central base. You will be attacked frequently by battlecruisers and other units, so be sure to build creep colonies and keep a force of hydralisks.

Battlecruisers attacking from the north will have the advantage that you won’t be able to reach them from your base. To prevent this, keep a force of about 12 hydralisks burrowed on the plateau to the north. When battlecruisers attack, surprise them by emerging your hydralisks and taking them down.

Enemy battlecruisers and science vessels will frequently kill your overlords and drones, so keep your overlords to the south (between your north base and your central base) and don’t bother trying to mine from the north base.

Prepare a force (mainly hydralisks, but also some zerglings) in your north base, with which you will attack white. Use nydus canals, as always, for quick movement of troops.

Raid the buildings north of your north base to slow down white’s production of land units, and weaken his main route for reinforcements.

Meanwhile, when resources run out at your secondary bases, you can use the southeast platform for yet another base with more resources. This is safer than using the north base for resources while white is still vigilant.

Push the attack, destroying white’s secondary base which has many of his supply depots and ground unit production buildings. Thus you have also severed the reinforcement route he uses for his northwest base; however he may still send some reinforcements using dropships.

After reinforcing your strikeforce, direct an assault at white’s northwest base.

Before destroying it completely, remember that you can infest the terran command center if you have a queen available.

After destroying white’s secondary base, build instead of it, to prevent white from rebuilding. He will try to rebuild many times, and in fact will tend to build some buildings just north of here, when he realises that the old location is inaccessible. Destroy them too.

After taking down the turrets that align white’s main platform (for easy overlord and queen movement), direct an assault on their main base to the northeast. A couple dozen hydralisks should be enough, as white does not have good ground defences at his main base.

Press on until you reach the command centre, which you can destroy or infest.

Don’t stop there… keep attacking until you destroy the last of white’s production buildings.

When you do, Admiral DuGalle will offer terms of surrender. Kerrigan will give him the finger and promise to annihilate what remains of his fleet while the UED attempts to flee to Earth.

With both the Protoss (blue) and the UED (white) down, you can concentrate on attacking the best defended enemy: Mengsk’s red troops.

The red base is excellently defended – bunkers, tanks, spider mines and turrets are throughout the base, not to mention wraiths that will easily take down offending guardians, science vessels that will irradiate your overlords, and several other ground units.

It is needless to say that the best strategy against red is ultimately an air assault. It is up to you how to go about this. Veterans will normally attack using a storm of various air units – I find that such an approach, albeit effective, is very expensive and will cause lots of casualties among your air units.

So I recommend using guardians as a main strikeforce (you will need at least 15 to be effective) and hydralisks for support against wraiths – and obviously overlords to see wraiths and ghosts.

The hydralisks should stay behind the guardians, as they are easy prey for tanks and other ground units, and should only attack when the guardians are being assaulted by wraiths.

Attack the southern part of red’s base, since it is the least defended area. Use the guardians wisely since the area is infested by tanks and spider mines; try not to waste hydralisks unnecessarily.

It will surely take several assaults to effectively penetrate red’s defences.

While you regain your strength between assaults, you can use your remaining guardians to continue harassing red. By eliminating the bunkers and turrets on the outskirts but not pushing in enough to lose your guardians, you will make the final assault that much easier.

With a combined guardian and hydralisk attack, take down what remains of the southern part of the red base.

Use the guardians to press upwards, where the area contains most of red’s supply depots. Tanks will do no harm if you keep your hydralisks back, but be sure to use them if the guardians are attacked by wraiths.

Raid the platform at the western edge, which contains the command centres and nuclear silos that red used to throw nukes at you. Now, he can’t any more.

Using mainly your guardians, and supporting against wraiths using your hydralisks, destroy the barricade protecting red’s primary command centre. Destroy the production buildings in that area to cripple red’s defences.

Destroy (or infest) red’s command centre and the remainder of his primary buildings.

When you are done, go a short way north, where the last bastion of red forces stands, awaiting the imminent defeat.

When you kill them, Arcturus Mengsk will acknowledge defeat. Since his force was the last one standing, this wins the scenario. Enjoy the endgame cinematic and story, some of which is presented below.

Terran forces are shown to be under attack by Zerg forces…

…as Kerrigan, the Queen of Blades, emerges triumphant from the final battle.

Meanwhile, Admiral DuGalle, en route to Earth, sends a message to his wife Helena telling her about the UED’s defeat, how Stukov died, and that she will never see him again.

A lone marine looks helpessly upwards as he contemplates certain death.

What remains of the UED fleet attempts to reach Earth, but will ultimately be utterly destroyed by the Zerg. Below is the epilogue story.